Hi, all. Today I wanted to try a little something different for our blog. Recently I was uploading our Electrode Disc Set product to our online store, and I realized that the instructions for its use are rather generalized. I thought it would be a cool idea to come up with and share some experiments that are possible with it.
This exercise is two-fold. For one, it will provide you with a jumping-off-point on how to use this product. Secondly, however, I want this to illustrate that many items are able be used to investigate various scientific principles. Though we offer many experiments geared towards investigating specific theories and principles, as you learn more about science and the inter-connectivity of what you observe in the world of science, you may find interesting and unique ways to explore a concept using a product in an innovative manner. Though safety should always be your top concern, science is all about discovery and observation through any means possible. Try some of the experiments in this blog and use them to consider scientific experimentation more broadly.
Corrosion:
Materials:
- ELDISC5-10
- Materials for different environmental conditions (Water, Salt, White Vinegar, Baking Soda, etc…)
- Glass Jars
Purpose:
- You will be observing how the various metals in the Electrode Disc Set corrode in different conditions. Buying the ELDISC5-10 will provide you with ten separate sets of metals, allowing you to run this experiment with one control group and up to nine experimental groups.
Procedure:
- Create your control group. Lay out one electrode disc set in the open air.
- Take a picture to document the appearance of each electrode in your control group.
- Create your experimental groups. As stated above, one ELDISC5-10 will allow you to have one control group and up to nine experimental groups. Each experimental group will be testing the effects a given solution has on each metal. This experiment works well using tap water, salt water, white vinegar, and a basic solution of baking soda and water. By filling four separate jars with the solutions just explained, you will have four experimental groups. You can stop at just five groups for your experiment (one control and four experimental), or you can use varying acidic (vinegar), basic (baking soda), or salt concentrations to create additional independent variables. Fill a jar with your chosen solution for each experimental group you wish to experiment with, and place a full set of metal electrodes in each jar.
- Label each jar with its contents and the date that you began the experiment.
- Take a picture to document the appearance of each electrode in each one of your experimental groups.
- For a period of two to three weeks, observe the electrodes in each group for changes. Photograph them as regularly as possible, labelling each picture with the date it was taken, the material of the electrode, and group it belongs to.
- After your experimental period is over, make your observations. Which solution corroded each metal the most? Does a higher or lower pH have an effect of the corrosion of your metals? Looking back on your pictures, did any solution corrode your electrodes at a quicker rate than the others? Did you notice any other interesting transformations for your electrodes? Based on your results, do you have any follow-up experiments that you may find interesting to do?
Potato Battery:
Materials:
- Fresh Potato(es)
- ELDISC5(-10)
- Connector Cords with Alligator Ends
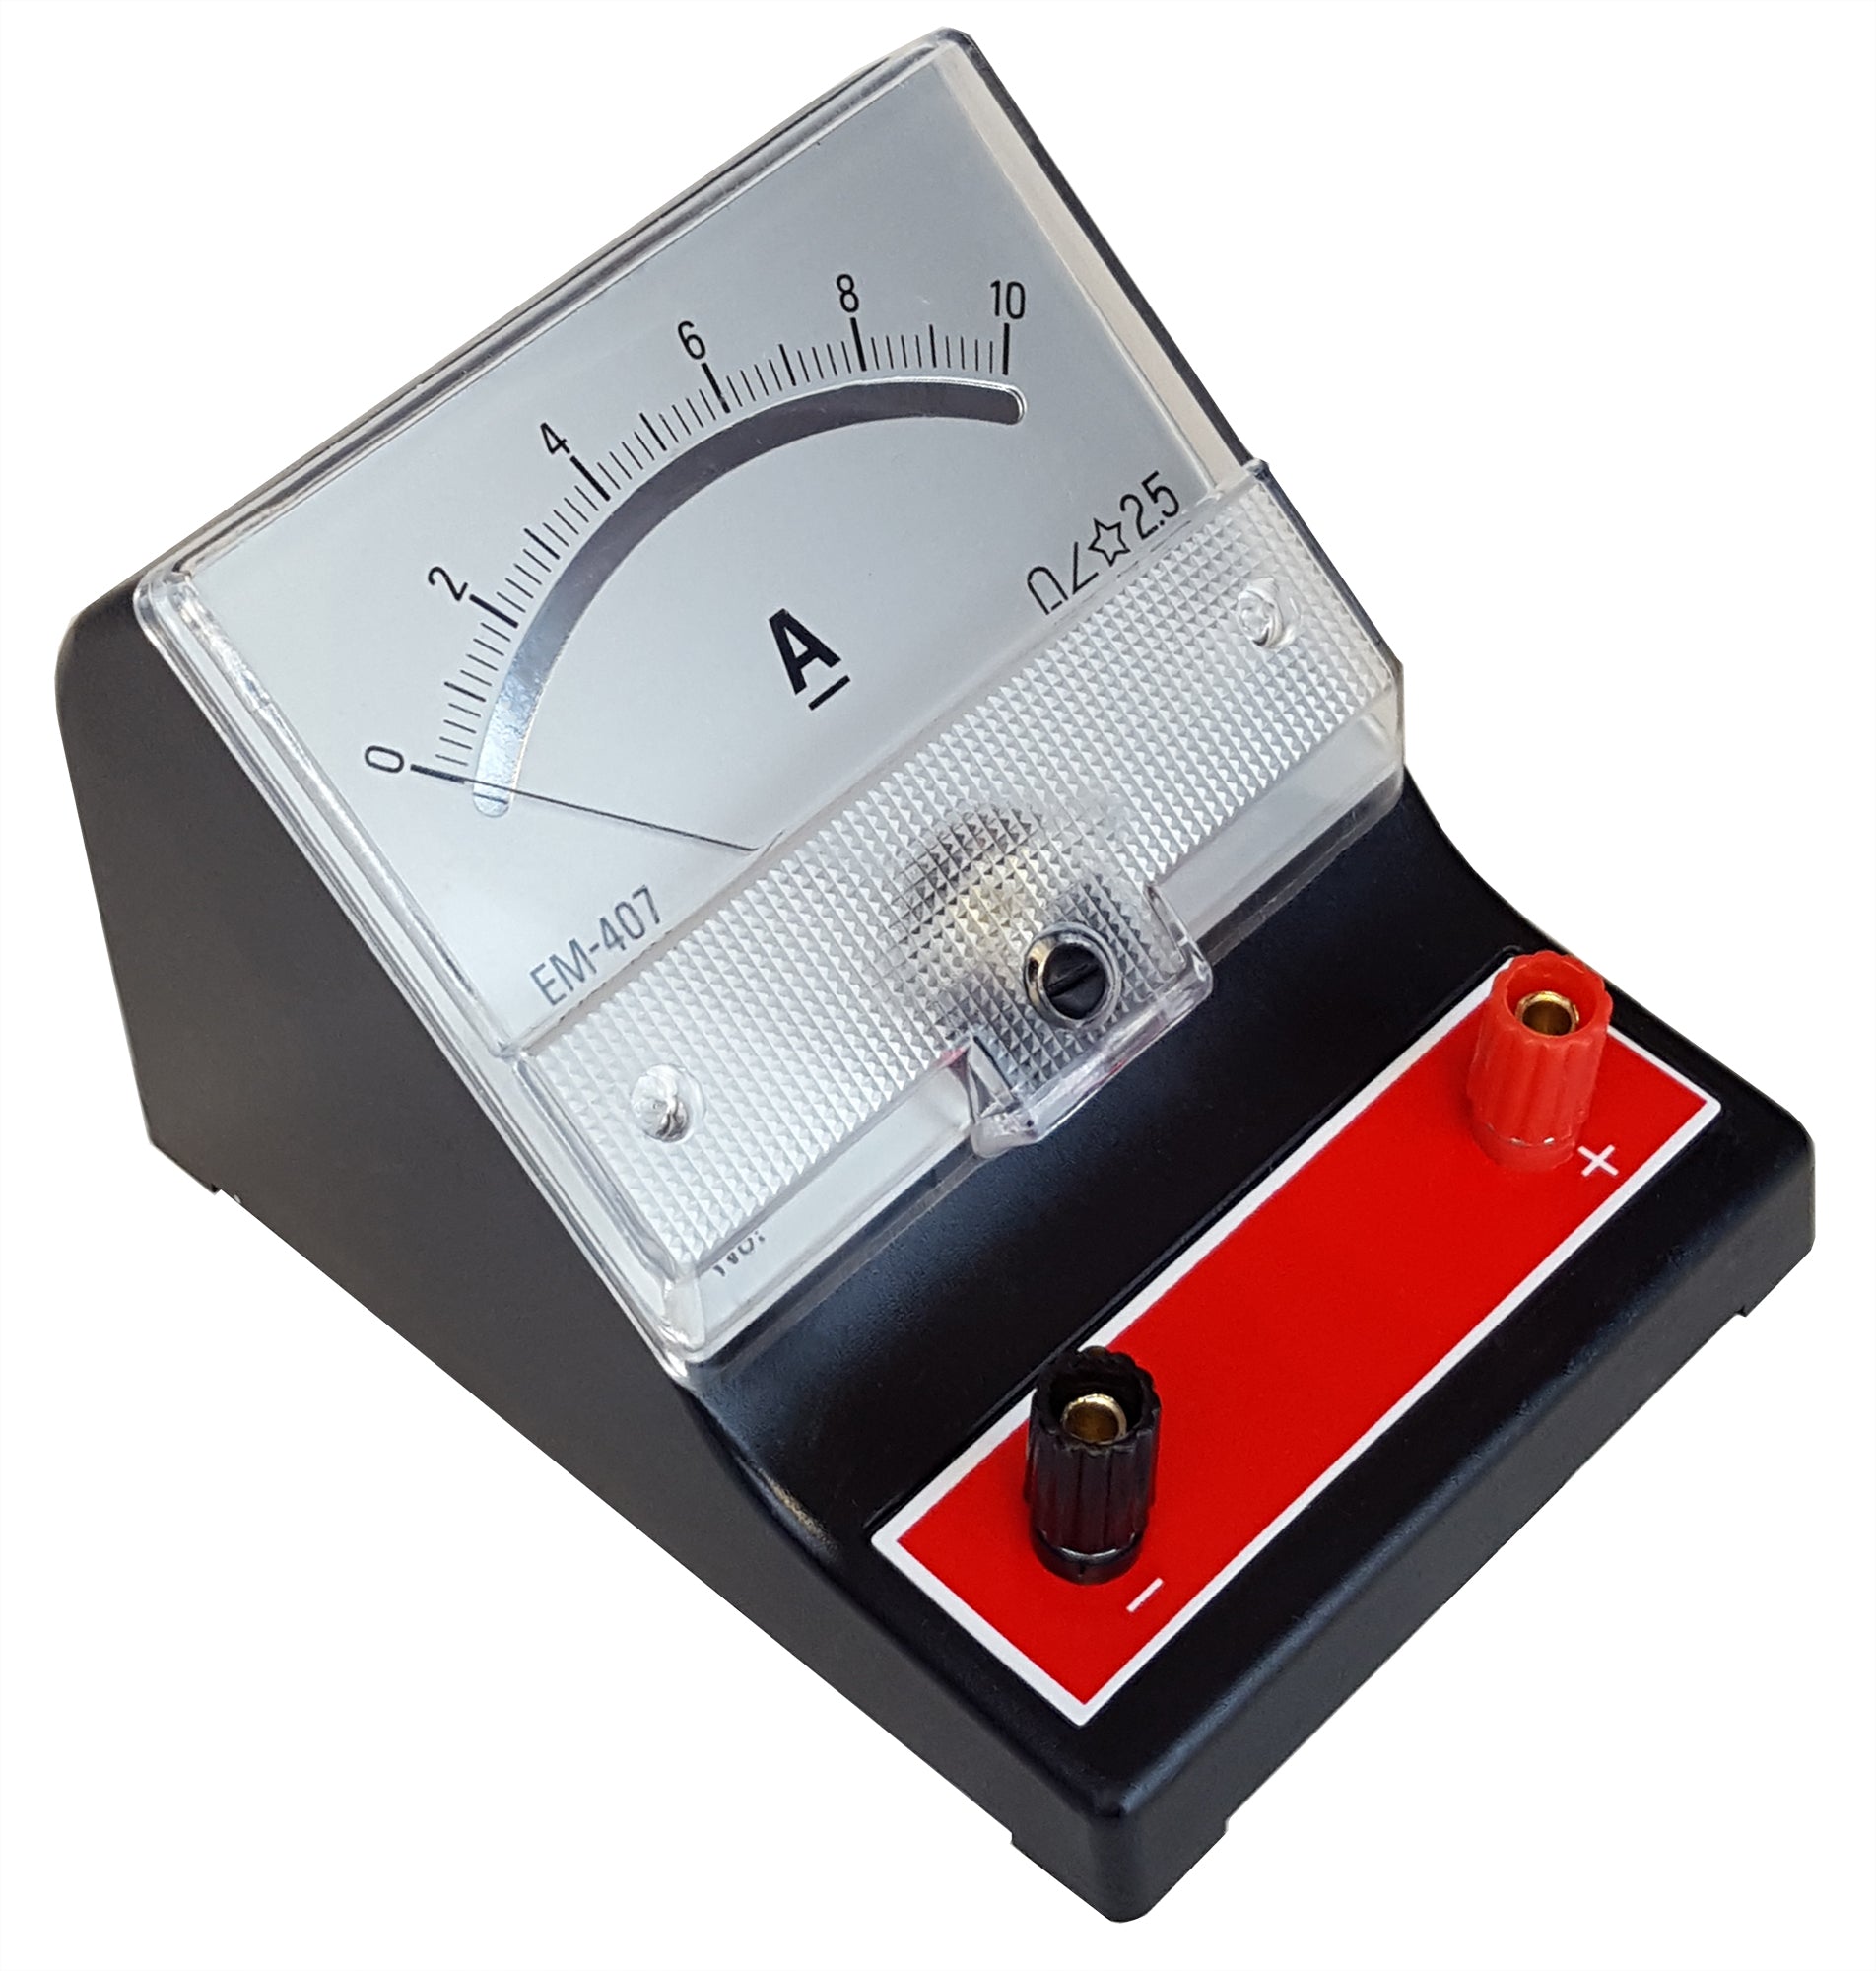
- Voltmeter
Purpose:
- You will be creating a chemical battery just using two electrodes and one potato. This experiment will help you to understand the components of an electrochemical battery, as well as reduction and oxidation reactions. All that a battery requires to work is an anode, a cathode, and an electrolyte solution. In the case of our potato battery, the phosphoric acid within the potato facilitates chemical reactions with the two electrodes. In our example below, the zinc anode undergoes an oxidation reaction and loses electrons into the electrolyte solution, and the copper cathode undergoes a reduction reaction where free electrons from the solution combine on the surface of the electrode with hydrogen ions in order to create an uncharged hydrogen molecule.
Procedure:
- Take your copper electrode and your zinc electrode. Place them halfway into the potato, roughly an inch apart.
- Connect a red cord to your copper electrode and a black cord to your zinc electrode. Also, connect two leads to your voltmeter.
- To show a baseline of zero volts, touch the two leads coming off your voltmeter together.
- Use your voltmeter to test your potato battery now. What is its voltage?
- Using new potatoes, test out different batteries made from other anode/cathode combinations (from other dissimilar metal combinations from the Electrode Disc Set). Which combination yields the highest voltage battery?
- You can expand on this experiment in several ways. Do other fruits or veggies create better batteries? Does connecting two or three potato batteries in a series circuit increase the voltage? How about connecting two or three potato batteries in parallel circuit?

Thermal Conductivity:
Materials:
- ELDISC5(-10)
- Hot Plate with a low-heat setting, or another low-heat heat-source (such as a pan on a low stove-top)
- (Warning: Be careful when handling any sort of heat source. Do not burn yourself. Use supervision.)
- Wax or Butter
- Stopwatch
Purpose:
- You will be comparing the thermal conductivity of the electrodes in our Electrode Disc Set.
Procedure:
- Take one set of room-temperature electrode discs and top them with a small amount of material that can melt. This can be five equally-sized pads of butter (smaller than the electrode discs) or two dried drops from a melted wax candle per disc.
- Slide all five discs onto a cool hot plate and turn it onto its lowest setting. Watch the discs to observe which melts its material fastest.
- Allow the hot plate to cool completely before running the experiment again.
- In five separate runs (or with the help of four other friends with stopwatches), time how long it takes for each electrode to melt its material. For each electrode, gather three different times to average your results.
- Plot your results. Which material conducts heat the best?

Science is only limited by your imagination and your curiosity. The above experiments are by no means the only possible experiments with this kit. Do you have any other experiments that you can think of with these metal electrodes? Let me know in the comments below!
Written By: Jacob Monash